Coke Machine Maintenance Starts With a Simple Schedule
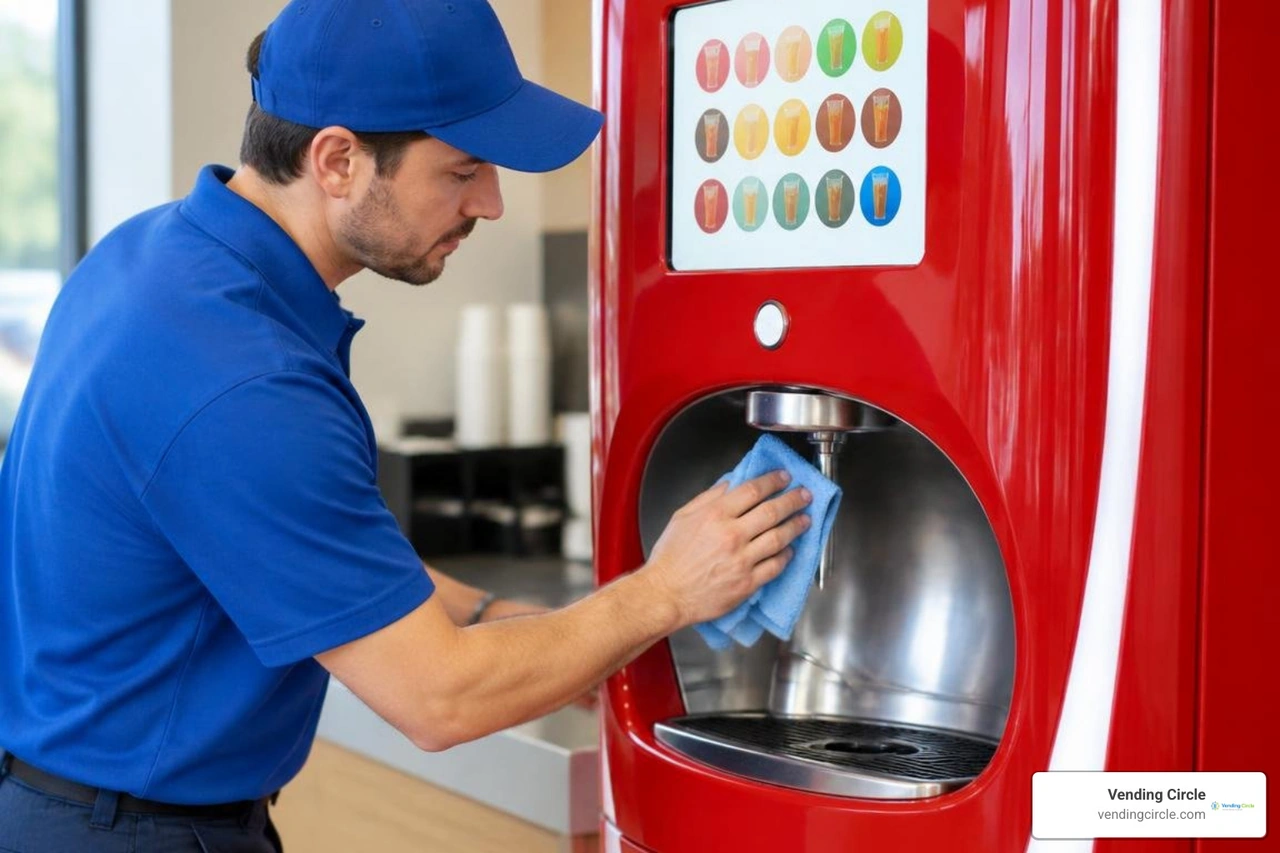
Clean fountain nozzles, drip pans, and ice-contact surfaces daily with products approved for your dispenser. Wipe vending machine doors and check for spills on each visit. Every few months, inspect the condenser for dust and clean it as your machine's manual directs. Before opening a vending machine to clean or service it, disconnect power and keep water away from electrical parts.
Vintage machines and modern Freestyle dispensers need different steps, but the goal is the same: keep drinks safe, air flowing, and small faults from becoming downtime. Always check the manual for your exact model.
I'm Manuel Mojica, founder of Vending Circle and former owner of MM Healthy Vending. My experience as an operator shapes this practical guide to coke machine maintenance.

Glossary for coke machine maintenance:
Daily Sanitation Protocols and Valve Cleaning for Fountain Dispensers

Clean dispensing components protect drink taste and prevent bacteria growth. Beverage syrup leaves sticky sugar deposits that harbor wild yeast and mold if left uncleaned.
Start by washing your hands thoroughly. Remove the dispensing nozzles and inner diffusers by twisting and pulling them down. Submerge these parts in an approved sanitizing solution for at least 3 minutes, following the manufacturer's SANITIZATION PROCEDURES . Use a dedicated nylon nozzle brush to scrub away built-up syrup from internal crevices.
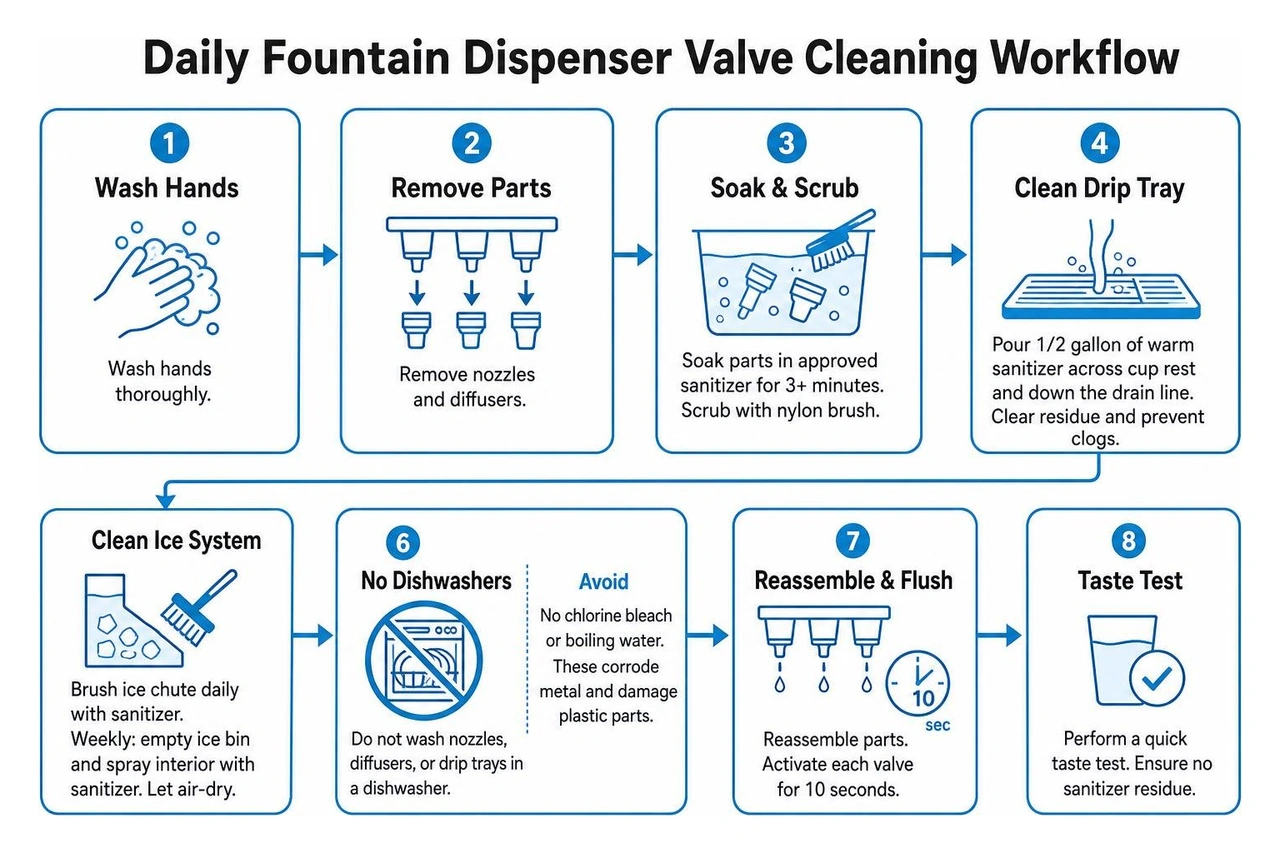
Never put nozzles, diffusers, or drip trays through a commercial dishwasher. High water temperatures warp precision-molded plastics and ruin internal seals. Avoid chlorine bleach or boiling water, which corrode metal fittings and degrade plastic parts.
To clean the drip tray, pour half a gallon of warm sanitizing solution across the cup rest and directly down the drain line. This clears sugary residue, prevents fruit fly infestations, and stops slow-draining clogs.
For fountain units with ice bins, brush the ice chute daily with a dedicated, food-safe brush dipped in sanitizer. Once a week, clear out the ice bin and spray the interior walls with sanitizer, letting all parts air-dry completely. After reassembling the clean nozzles and diffusers, activate each valve for 10 seconds and perform a quick taste test to ensure no sanitizer residue remains. Maintaining these standards keeps your cold drink machines running safely and reliably.
Daily Fountain and Freestyle Coke Machine Maintenance
Modern digital dispensers like the Coca-Cola Freestyle 9100 need specific daily cleaning routines. Unlike traditional mechanical fountains, Freestyle units rely on high-precision micro-dosing injector rings to blend concentrated flavor ingredients.
Clean the external nozzle ring and injector surface at the end of every operating shift. Remove the outer nozzle assembly, soak it in approved sanitizer for 3 minutes, and wipe the injector probe face with a clean, lint-free cloth soaked in sanitizing solution.
Freestyle dispensers have a built-in compliance safeguard: if the crew dashboard or Ingredient Summary screen is not accessed within a 24-hour window, the unit automatically locks the pour screen and displays a mandatory cleaning prompt. To clear this prompt, open the crew dashboard, wipe down the external probes and cup rest, and flush the drain cup with warm water. Check the ADA interface during daily checks to ensure accessible pour options respond instantly. For detailed interface navigation, consult the Coca-Cola Freestyle 9100 Vending machines Operation & user’s manual PDF View/Download .
Cartridge Replacement and Priming Procedures
Freestyle dispensers use concentrated micro-ingredient cartridges identified by onboard RFID chips. When an ingredient drops below 20% capacity or triggers a "sold out" alert on the dashboard, replace the cartridge promptly to avoid service interruptions.
Open the lower dispenser access door and locate the spent cartridge tray. Slide the tray straight out. Check the new cartridge to ensure the foil seal is intact and undamaged, then align it with the dedicated slot guide. The internal RFID scanner automatically detects the beverage brand and updates the dashboard inventory. Never force double-wide cartridges apart or attempt to reload pierced single-ingredient packs.
Once inserted, prime the new flavor lines. Select the replaced brand on the maintenance screen and tap the prime button once. The automated priming sequence runs for approximately 5 to 10 seconds for standard cartridges, purging air bubbles and drawing syrup directly to the injector head. Avoid pressing the prime button repeatedly, as over-priming wastes concentrate and risks sticky buildup in the injector wells. Keep backup concentrate on hand by stocking up through our vending machine supplies guide 2026.
Exterior Cabinet and Mechanical Care for Vending Machines
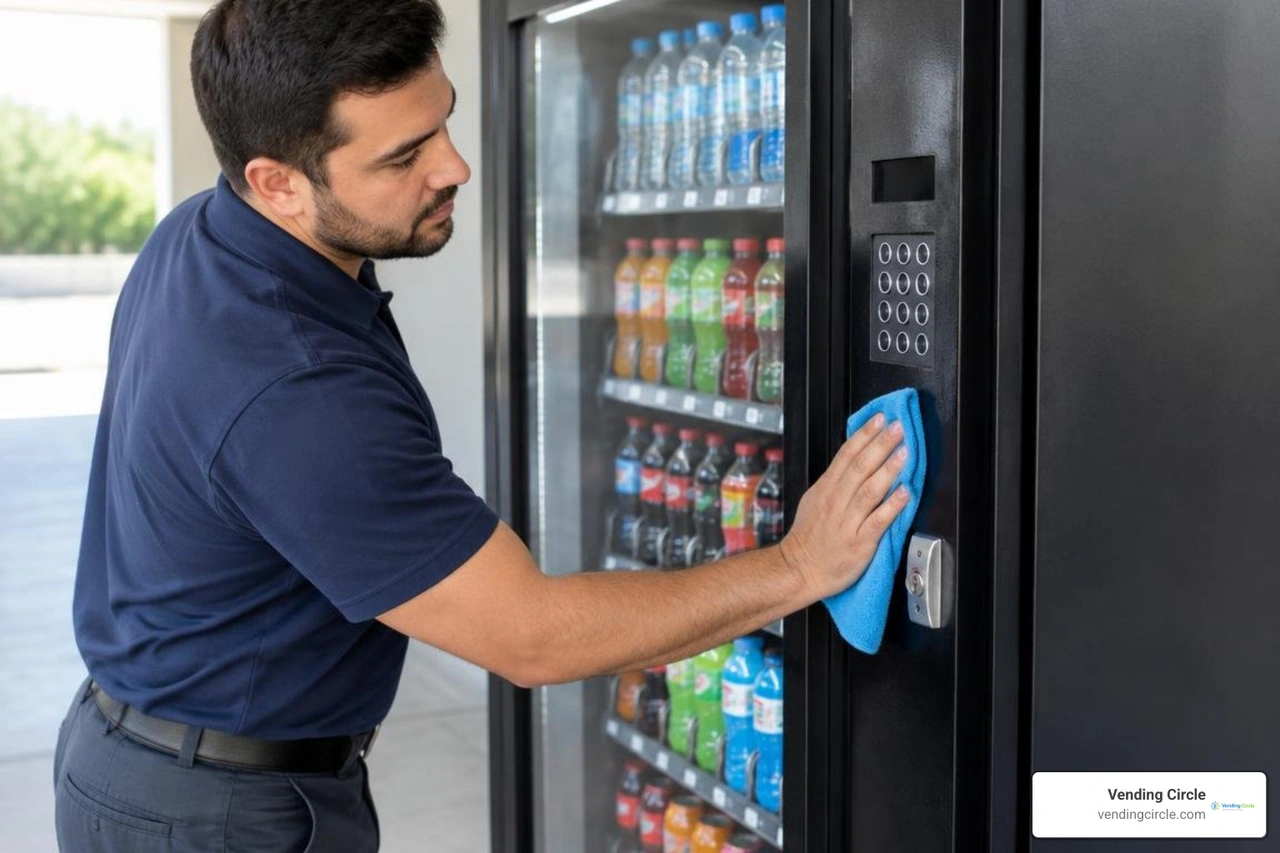
Keeping your machine clean on the outside builds customer trust and protects the steel body from rust. Wash the exterior cabinet using a soft microfiber cloth, warm water, and mild dish soap. Never use pressure washers, garden hoses, or harsh industrial solvents on a vending machine. High-pressure water easily penetrates door seals, shorting internal electronics and ruining control boards.
For glossy painted steel cabinets, apply a coat of standard automotive paste wax every six months. Buffing the surface shields the paint against scratches, UV fading, and outdoor moisture.
Clean glass-front display panels using standard glass cleaner, wiping it dry with clean newspaper to eliminate streaks and prevent lint buildup. For a helpful visual walkthrough of these cleaning fundamentals, watch this guide on How To Clean A Soda Machine | Global Vending Group .
Inside the cabinet, wipe down the product delivery columns and bottom bin with a damp cloth to remove spilled syrup and dust. If you find rust on internal metal columns, gently buff the oxidized spots with fine steel wool, clean away the dust, and coat the bare metal with aluminum-based protective paint. This extra care is especially helpful when maintaining older units from our used vending machines guide 2026.
Proactive Lubrication and Gasket Care in Coke Machine Maintenance
Moving parts need regular lubrication to reduce mechanical wear. Apply a thin layer of food-grade silicone spray to the main door lock bolts, T-handle screw threads, and exterior hinge pivot points every six months. Avoid petroleum-based lubricants like WD-40 on lock assemblies or near beverage chutes, as they attract dust, turn gummy over time, and can contaminate food-contact areas.
Check the flexible rubber door gasket along the cabinet perimeter at least once a year. A cracked or stiff gasket allows warm air to leak into the refrigerated compartment, forcing the cooling deck to run continuously and driving up operational vending machine costs.
Wash the gasket using mild soapy water to remove stickiness, let it dry, and apply a light coat of food-grade silicone conditioner to keep the rubber pliable. Perform a dollar-bill test by closing the door on a bill at various points along the frame: if the bill pulls out without resistance, the magnetic seal is weak and the gasket needs replacement.
Essential Refrigeration and Compressor Protocols in Coke Machine Maintenance
The refrigeration deck keeps your drinks ice-cold. Dust buildup on the condenser coils blocks airflow, causing the compressor to overheat, consume extra power, and fail early.
Unplug the vending machine before servicing the refrigeration deck. Slide the lower deck forward to expose the compressor, condenser fan, and aluminum cooling fins. Use a shop vacuum fitted with a soft dusting brush to clean accumulated lint, dirt, and debris from the condenser fins. Vacuum in the direction of the fins to avoid bending the thin metal plates. If you find bent fins, carefully straighten them using a specialized fin comb.
Keeping coils clean improves cooling performance and supports overall vending machine energy efficiency. For detailed cooling schematics and maintenance schedules, refer to the Glassfront Vender technical manual.
Airflow Clearance and Condenser Coil Servicing
Proper ventilation is essential for commercial refrigeration. Always place soda vending machines with at least 4 inches (100 mm) of clearance between the rear cabinet and the wall. Pushing a machine flat against a wall blocks exhaust airflow, trapping heat inside the lower cabinet.

Blocked exhaust airflow trips the compressor's thermal overload switch, causing the machine to blow warm air and warm up your drinks. Inspect and clean the condenser coils every three months (or monthly in dusty warehouses or outdoor areas).
Check that the condenser fan spins smoothly without wobbling, squeaking, or rubbing against its shroud. Operating beverage equipment in ambient room temperatures above 90°F (32°C) strains the cooling cycle, so keep indoor placements well-ventilated.
Safety Precautions Before Electrical and Refrigeration Servicing
Working on commercial vending equipment involves high voltage and pressurized refrigerants. Always follow these safety rules:
- Disconnect Power: Unplug the machine from the wall outlet before opening electrical boxes, removing panels, or servicing the compressor.
- Avoid Extension Cords: Plug the heavy-duty power cord directly into a grounded, 3-wire wall outlet on a dedicated 15A or 20A circuit.
- Test Ground Fault Protection: Ensure the wall receptacle or machine power cord features a working Ground Fault Circuit Interrupter (GFCI).
- Discharge Capacitors: High-voltage run and start capacitors inside the compressor housing store electrical energy even after power is disconnected; discharge them safely using an insulated resistor tool before servicing.
- Watch for Moving Machinery: Keep hands, loose clothing, and hair clear of internal robotic picker cups, motor gears, and conveyor belts during testing.
For specific electrical wiring diagrams and cabinet safety procedures, review the Pepsi-Cola High Visibility Vender documentation.
Troubleshooting Common Failures in Modern and Vintage Units
When equipment goes down, structured troubleshooting helps you pinpoint the root cause quickly and get back to making sales.
| Symptom | Probable Root Cause | Corrective Action |
|---|---|---|
| Cabinet warm; compressor silent | Tripped GFCI, faulty thermostat, or failed overload relay | Reset GFCI, verify power at outlet, and test thermostat continuity with a multimeter. |
| Cabinet warm; compressor running | Clogged condenser coils or low refrigerant charge | Clean condenser fins thoroughly; if coils stay clear but frost accumulates on the evaporator inlet, call a certified technician. |
| Dispensing column jam | Misaligned slide pusher, bent gate, or dented can | Clear the jammed product manually, check column width spacers, and inspect the drop chute for sticky residue. |
| Coin mechanism rejects valid coins | Dirty optical sensors or incorrect changer leveling | Clean the coin flight path with a damp cloth; level the machine using a bubble level on the cabinet top. |
| Low CO2 alarm triggered | Empty tank, closed cylinder valve, or high-pressure leak | Inspect tank pressure gauge, check high-pressure lines with soapy water for leaks, and swap the CO2 cylinder. |
| Robotic picker cup misaligned (Glassfront) | Optical home switch dirty or XY-axis belt loose | Clean the optical sensor with compressed air, inspect belt tension, and run a motor diagnostic calibration test. |
Track historical service patterns across your routes using modern vending machine inventory management software to spot repeat component failures early.
Troubleshooting Mechanical Jams and Dispensing Errors
Product delivery errors in drop-chute and robotic glass-front machines often come down to physical obstructions or sensor misalignments. If a can or bottle hangs up in the delivery column, pull the jammed item out manually and inspect the column guide rails. Dented cans, wrinkled labels, or bent gate tabs will catch on the gate and jam the next vend cycle.
For glass-front machines that use an automated picker cup, verify that the horizontal and vertical belts move freely without slipping. Wipe the optical home position sensors with a dry microfiber cloth to remove dust that disrupts positioning.
Clean the optical drop sensors inside the delivery bin using compressed air; if these lenses get covered in dust or syrup, the machine cannot verify when a product drops, causing multi-vend errors or false out-of-stock messages. Check that all wire harness plugs are seated firmly on the main control board, especially after upgrading payment systems by adding a card reader to a vending machine.
For automated beverage systems that dispense cups, review the McDonald’s ® ABS Basic Daily Operation guidelines to clear extraction jams and avoid bent cup fingers.
Frequently Asked Questions About Commercial Beverage Equipment
What cleaning chemicals should never be used on beverage vending machines?
Never use chlorine bleach, boiling water, caustic lye-based oven cleaners, or petroleum-based solvents on a beverage dispenser or vending machine. Bleach corrodes stainless steel fittings, damages rubber O-rings, and leaves toxic fumes. Boiling water warps precision plastic parts like Freestyle injector rings and ABS drip pans. Petroleum solvents will melt polycarbonate display panels, crack internal plastic columns, and strip protective coatings from metal cabinets. Stick strictly to warm water, mild dish soap, and EPA-approved, food-safe sanitizers mixed to manufacturer specifications.
How often should condenser coils be cleaned on bottle and can machines?
Clean the condenser coils on cold drink vending machines at least once every three months under normal indoor conditions. In high-dust environments—such as manufacturing plants, auto repair shops, warehouses, or outdoor locations—inspect and vacuum the coils monthly. Regular cleaning keeps head pressure within safe limits, saves energy, and protects your compressor from premature failure.
How do you fix a beverage machine that stops cooling properly?
First, verify that the machine is plugged directly into a dedicated outlet and that the breaker or GFCI has not tripped. Next, confirm that the cabinet has at least 4 inches of clearance from the wall and that the condenser fan spins freely when powered. Unplug the unit and clean heavy dust from the condenser fins with a vacuum and brush. If the compressor hums but fails to start, replace the compressor start capacitor and relay. If the compressor runs continuously while the evaporator coil is iced over, check for a failed defrost timer, worn door gaskets, or an internal refrigerant leak that requires certified service.
Conclusion
A consistent maintenance routine protects your investment and keeps your beverage equipment earning. Cleaning fountain valves and diffusers daily keeps drinks tasting great and ensures health compliance, while quarterly condenser care and semi-annual lubrication protect your refrigeration systems from expensive failures.
Whether you run modern Freestyle dispensers or classic can venders, routine care saves you money and prevents unexpected downtime. To connect with experienced operators, join weekly live Q&A sessions, and access discounted commercial parts, explore Vending Circle's comprehensive operator guides and maintenance resources to help scale your vending operation.